Getting started
From Zero to Hero !
This section will guide you through creating your first project and launching a new run.
Step 1: Signup
Go to the AZHDAYA homepage(https://www.azhdaya.io) and complete signup.
You can start with a Free package (no credit card required) then upgrade later if you need more capacity and features.
After your signup request has been reviewed and approved, you may login and start using AZHDAYA.
Step 2: Start page
After you logged in with your credentials you have setup at signup, you will see the start page:
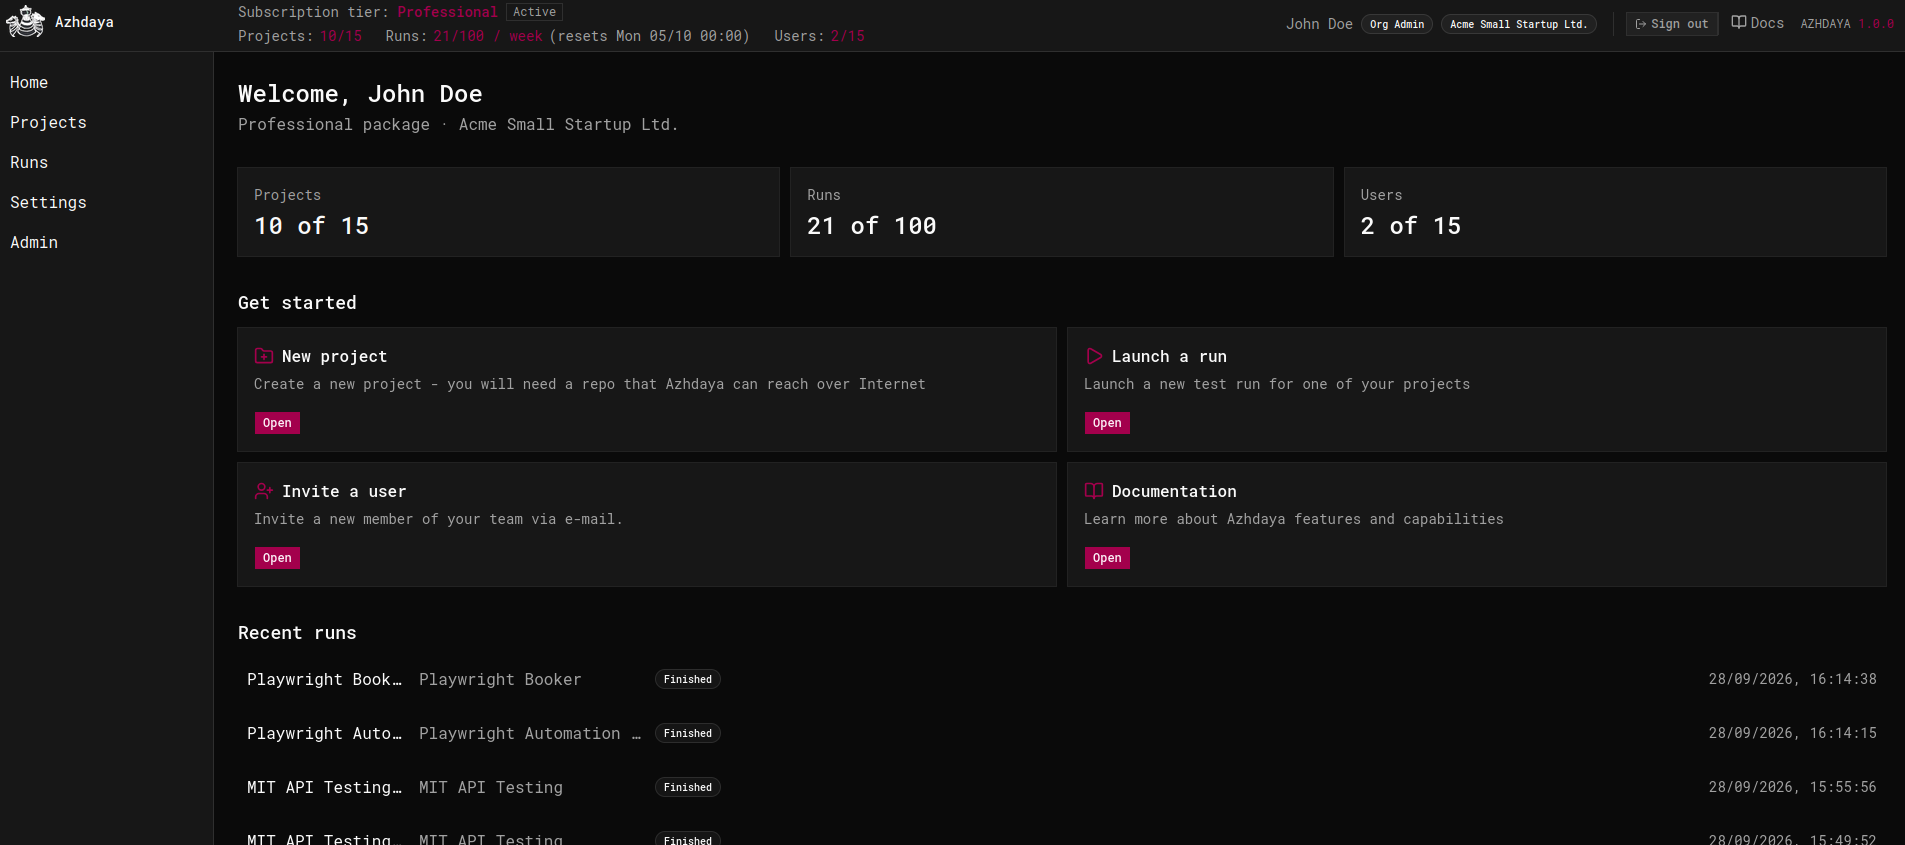
This page provides you with a summary of your usage limits (this info also visible in the header) and provides you with easy access to actions such as setting up a new project, launch a run, etc.
Step 3: Add a new project
- Prerequsites
To start testing, you need to create a new project based on a git repository that Azhdaya can access over Internet. It can be for example a:
- public repository with no authentication required
- private repository with authentication via personal access tokens
- a private repository which is not generally available but which you expose for access by Azhdaya via e.g. nginx or another type of proxy
For the purpose of this tutorial, we will setup a publicly available opensource Playwright Repo for our tests hosted on Github
- Click on “New project” card to initiate project creation. Besides the repository information, you can also supply the default test glob and a default set of environment variables. If you do, they will set as default for new runs (you can still modify them before launching the run).
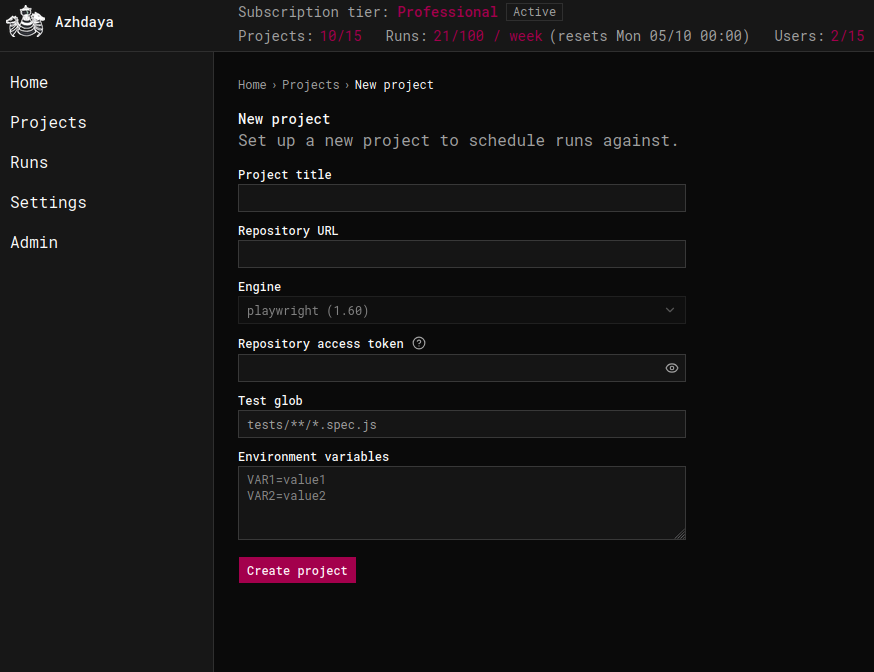
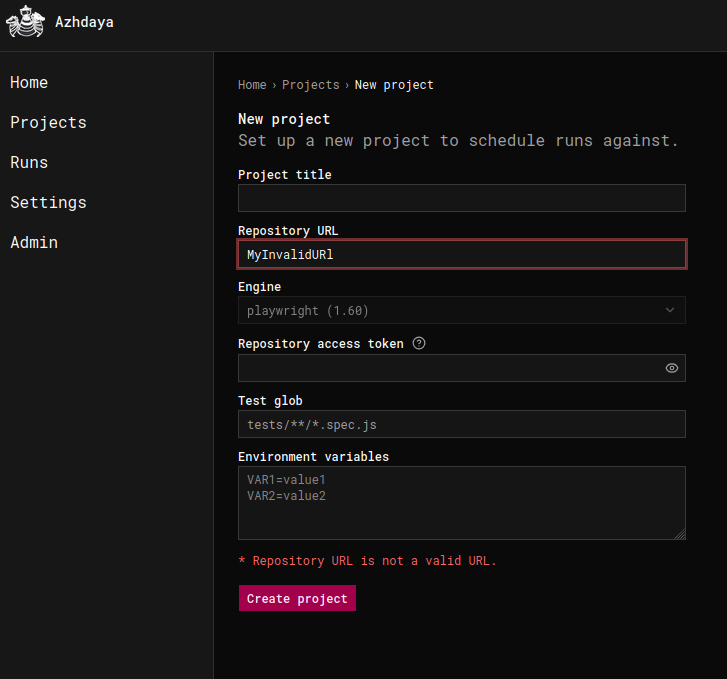
- Now provide the required inputs. Note that saving will not be possible if the git repository is not reachable for any reason (bad URL, invalid token…)
- Now lets use a well known open source project:
- URL: https://github.com/mmislej/playwright-automation-framework-portfolio
- Name: “Playwright Automation E-Commerce”
- Token: none (public repo)
- We’ll also leave other values empty
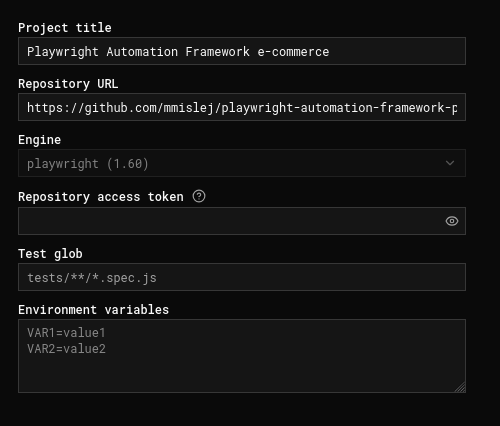
Example project from public repo
After clicking create, we will be redirected to project details view.
AZHDAYA will now clone the repository, perform installation of dependencies and read the tests. Note it may take a couple of minutes for all the steps to complete - during this time inputs to other fields are disabled.
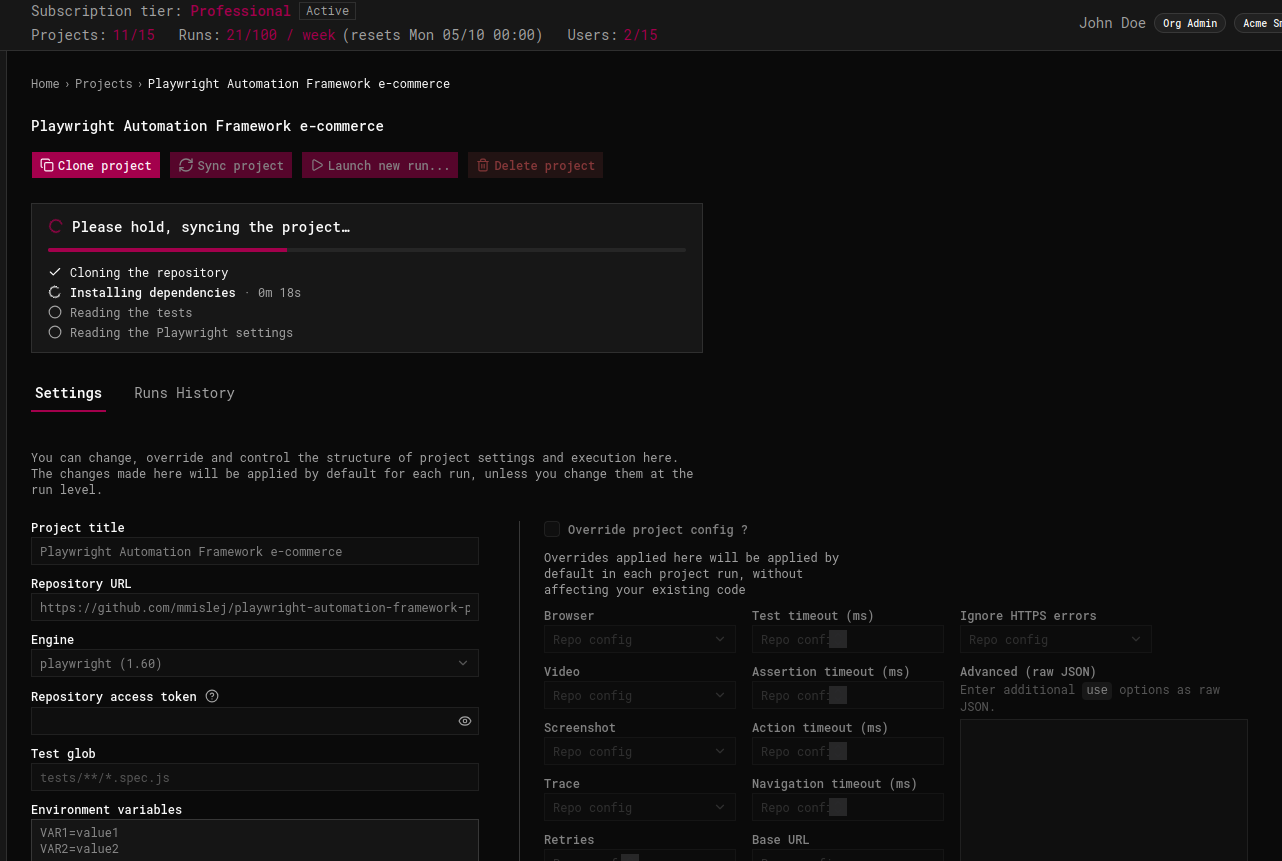
Step 4 - Launching a run!
Congratulations! You have created your first project and you should be able to see the view as shown below.
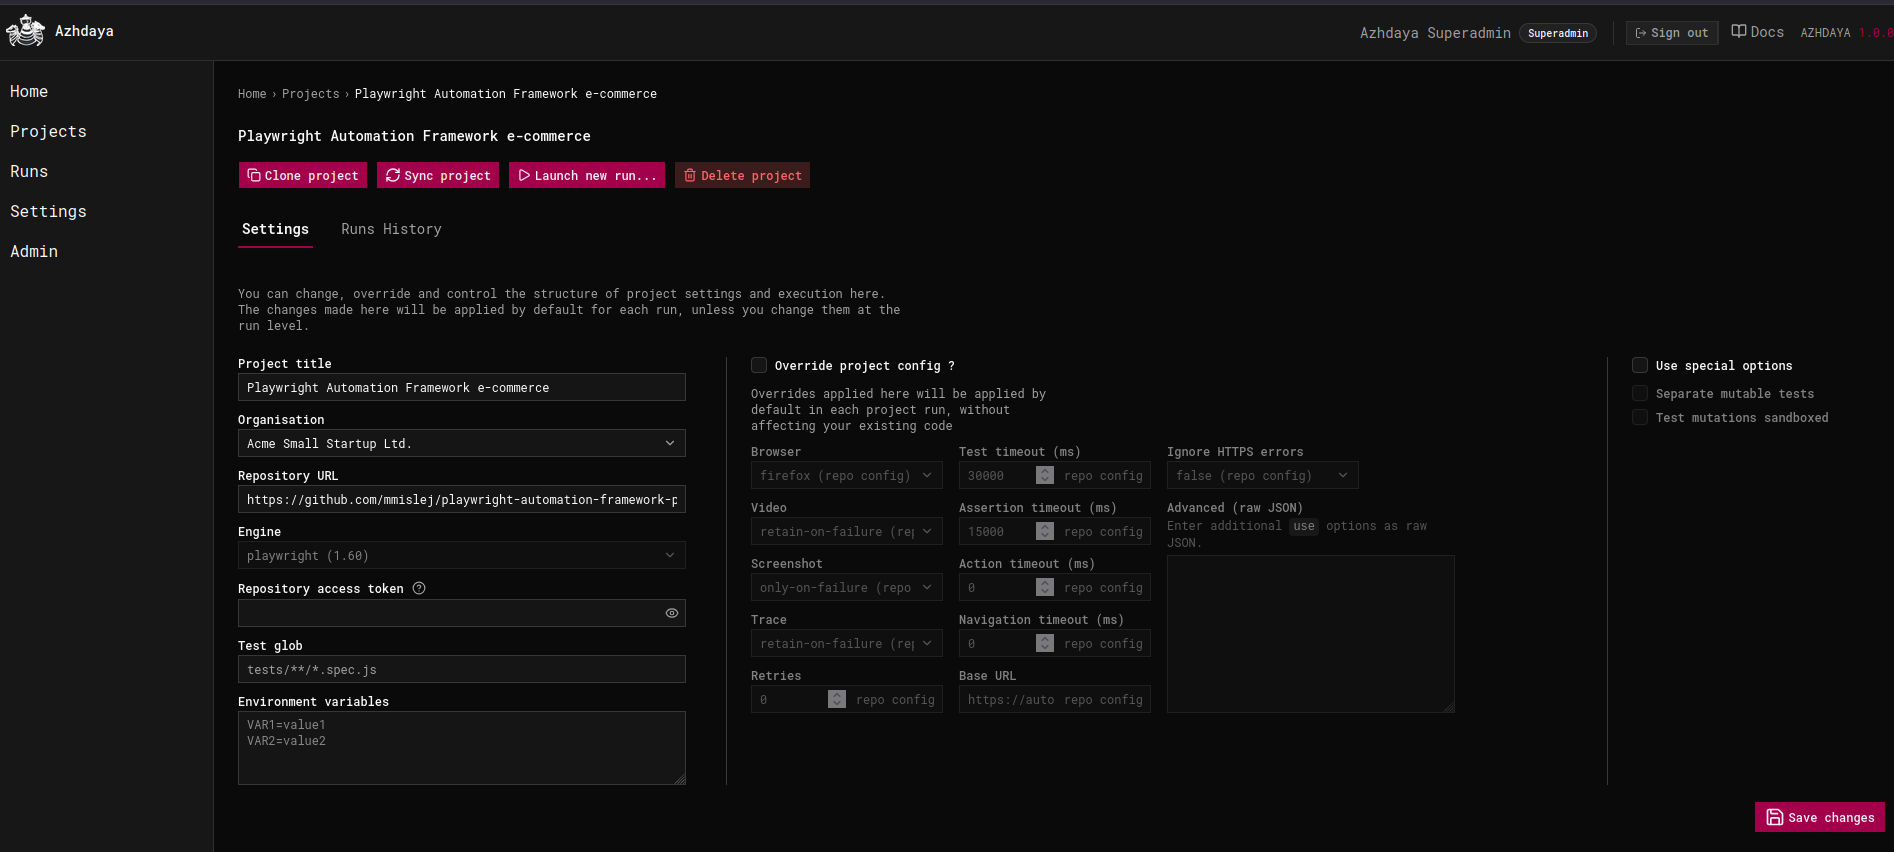
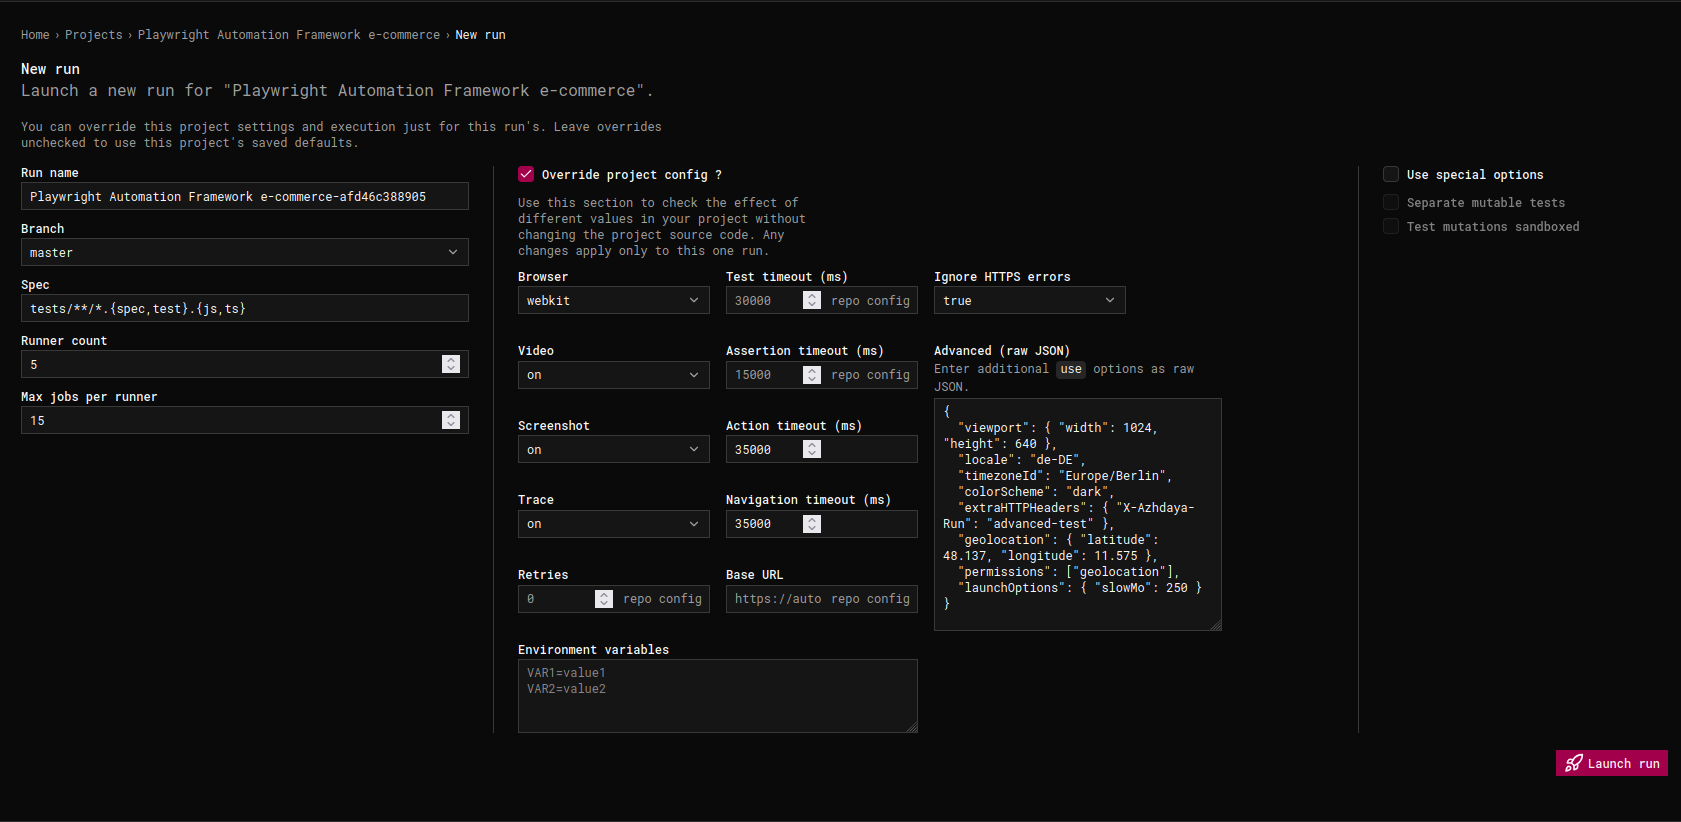
In order to launch a new run of your project, now click the launch new run button. Now you can either go with the default values, noted in the menu options as “repo-config”, or you can modify the settings to test your suite behaviour. In this example we are going to modify the default settings, just to make it more interesting:
- change the browser from firefox to webkit
- Set
video,screenshotandtracetooninstead of"retain-on-failure" - Set
"ignore HTTPS errors"fromfalse(repo config) totrue - Increase the default timeout values
- And finally - we are also going to inject some special
useoptions:
{
  "viewport": { "width": 1024, "height": 640 },
  "locale": "de-DE",
  "timezoneId": "Europe/Berlin",
  "colorScheme": "dark",
  "extraHTTPHeaders": { "X-Azhdaya-Run": "advanced-test" },
  "geolocation": { "latitude": 48.137, "longitude": 11.575 },
  "permissions": ["geolocation"],
  "launchOptions": { "slowMo": 250 }
}
Now we can click on Launch run button and we will be redirected to the run list main view. In this view we can click on any of the currently running runs to inspect them, we can also click on previosly completed runs. Clicking on our own run, we will get into the run detailed view
Step 5 - Run detailed view - Observing and debugging the runs
- Now that we have launched a run, it may take a bit of time until the runners have been launched.
The run is in queued/pending mode.
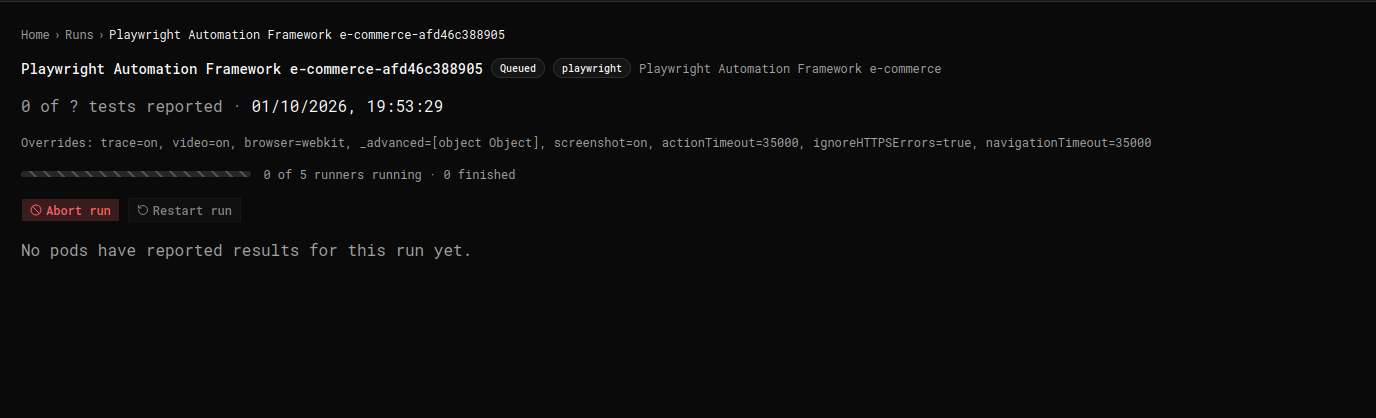
After the run has been started we will see progress indicators as show below
During the run execution as well as after the run has been completed we can click on individual test cards to review the status and artefacts of the tests.
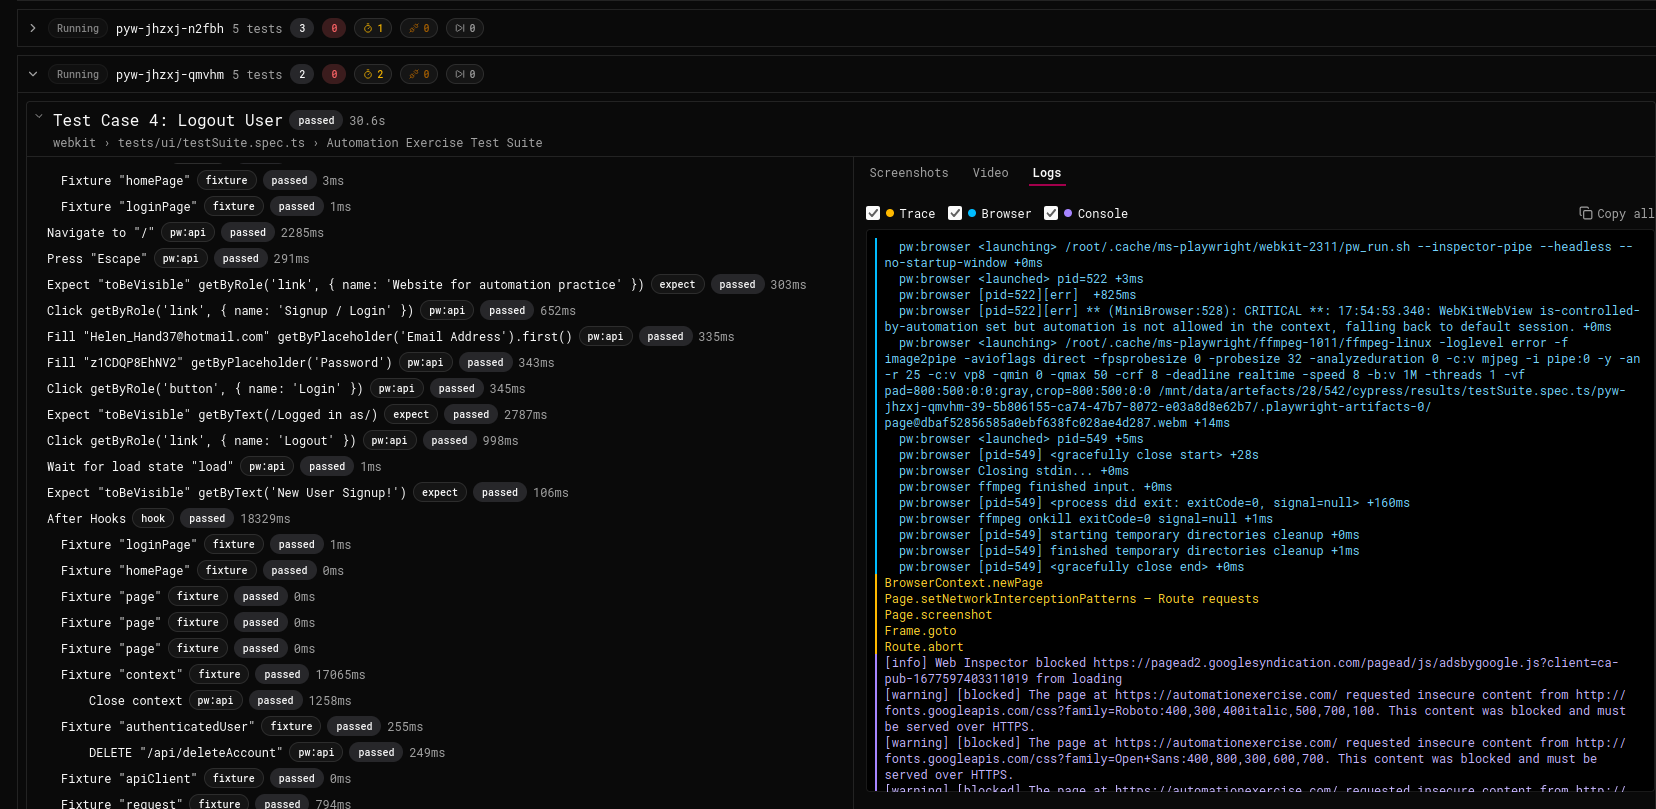
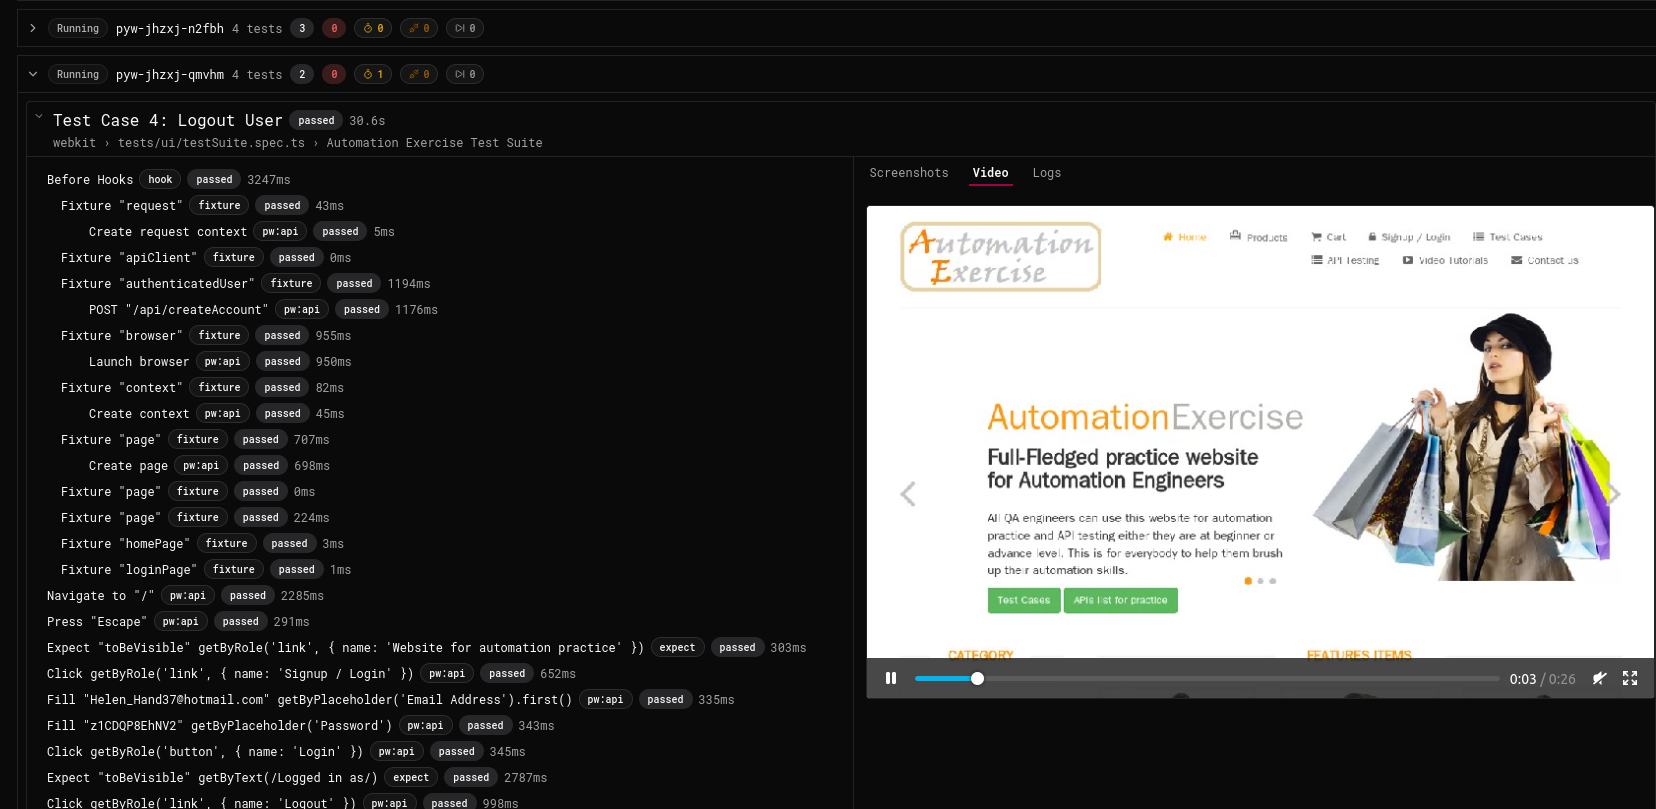
We can click on the right hand pane tab “Screenshots” and navigate through individual screenshots by arrows. Use “Esc” to leave this mode.
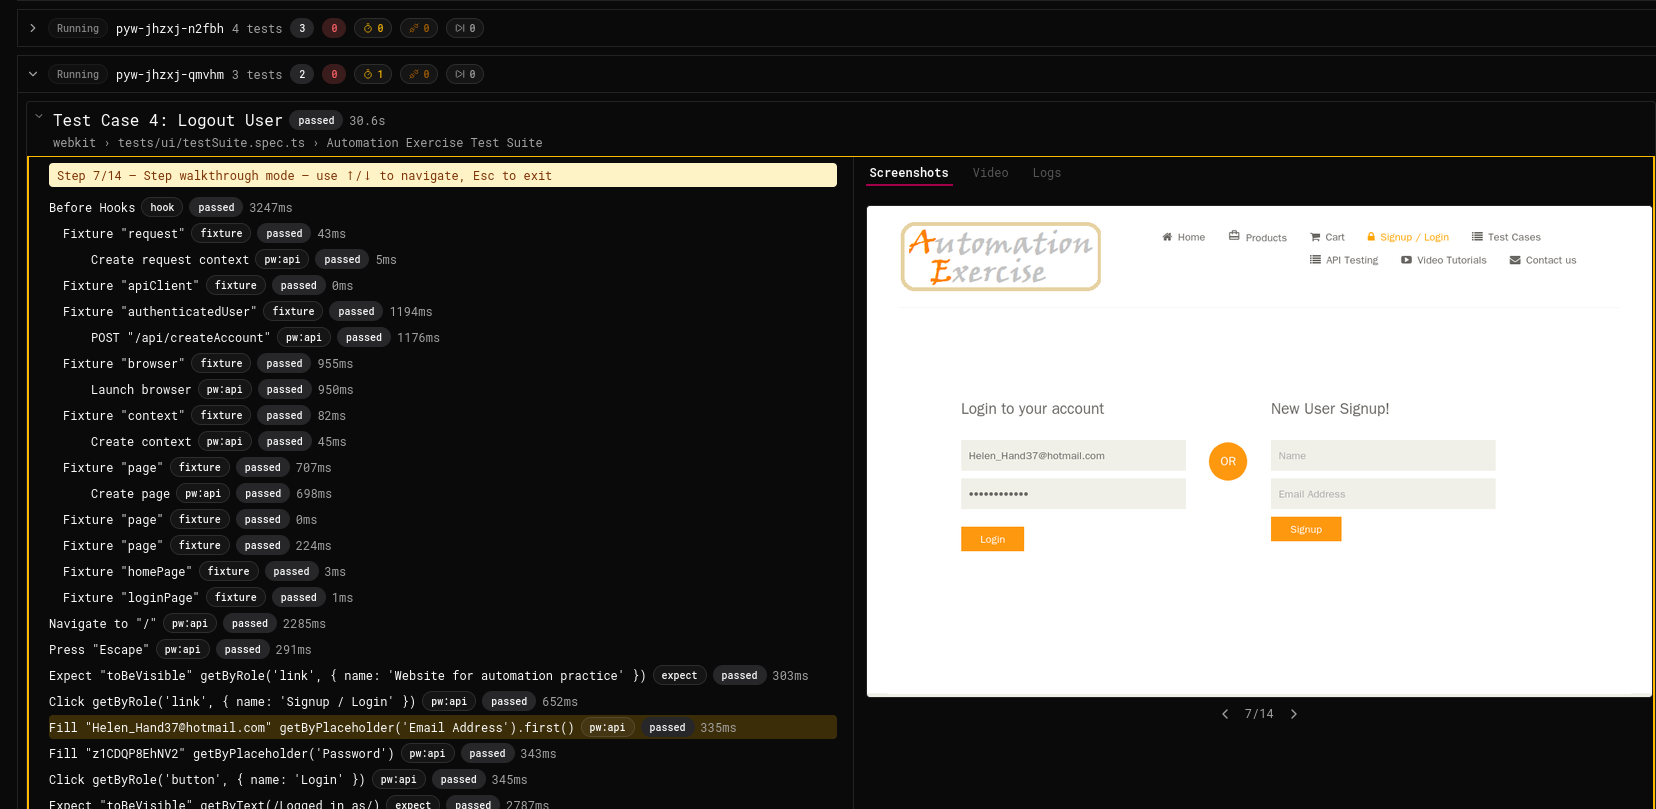
We can also review logs and videos: